The three lessons I learnt
Since leaving my job working in a studio, learning has been the focus of my development over the past few months. Going into this jewellery shoot I had some idea of how things were going to go and how things were going to look, but what I was not prepared for is how much I would have to learn and relearn for this shoot.
Lesson Two
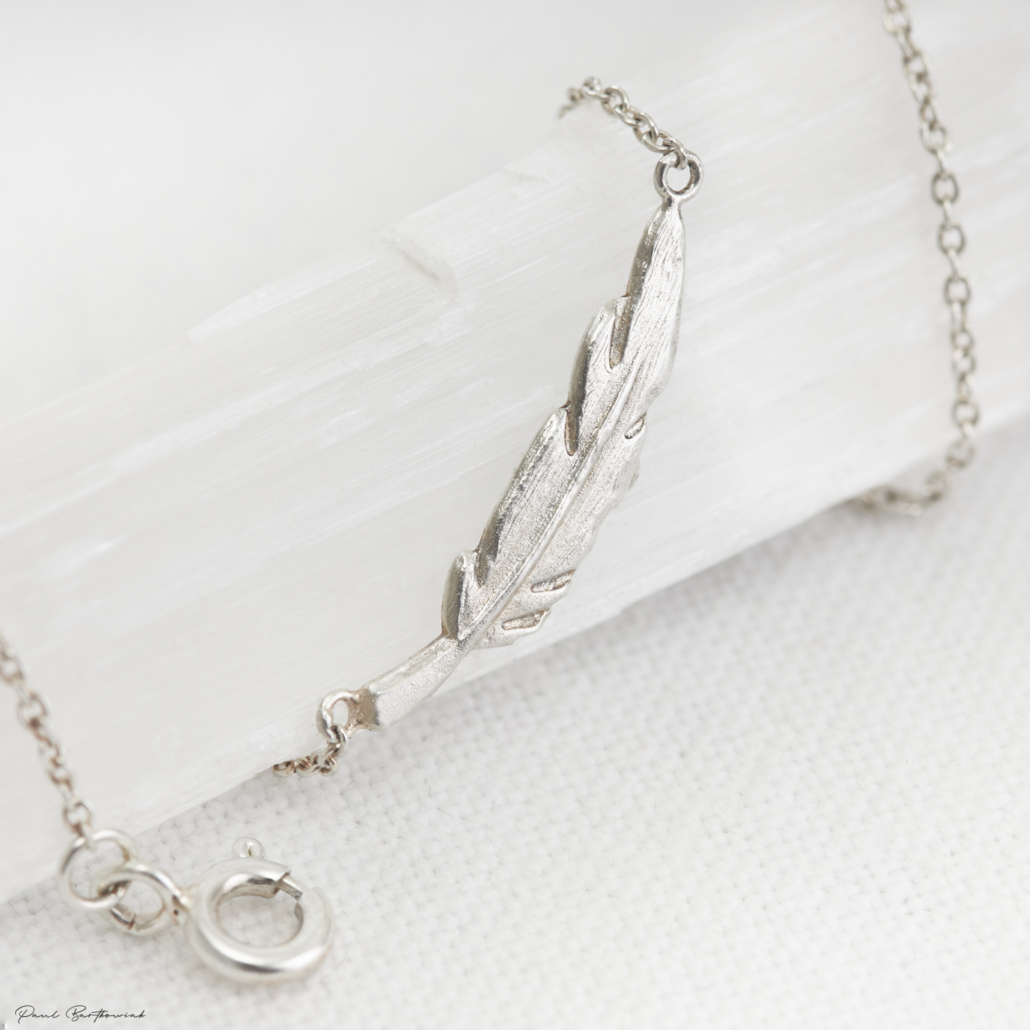
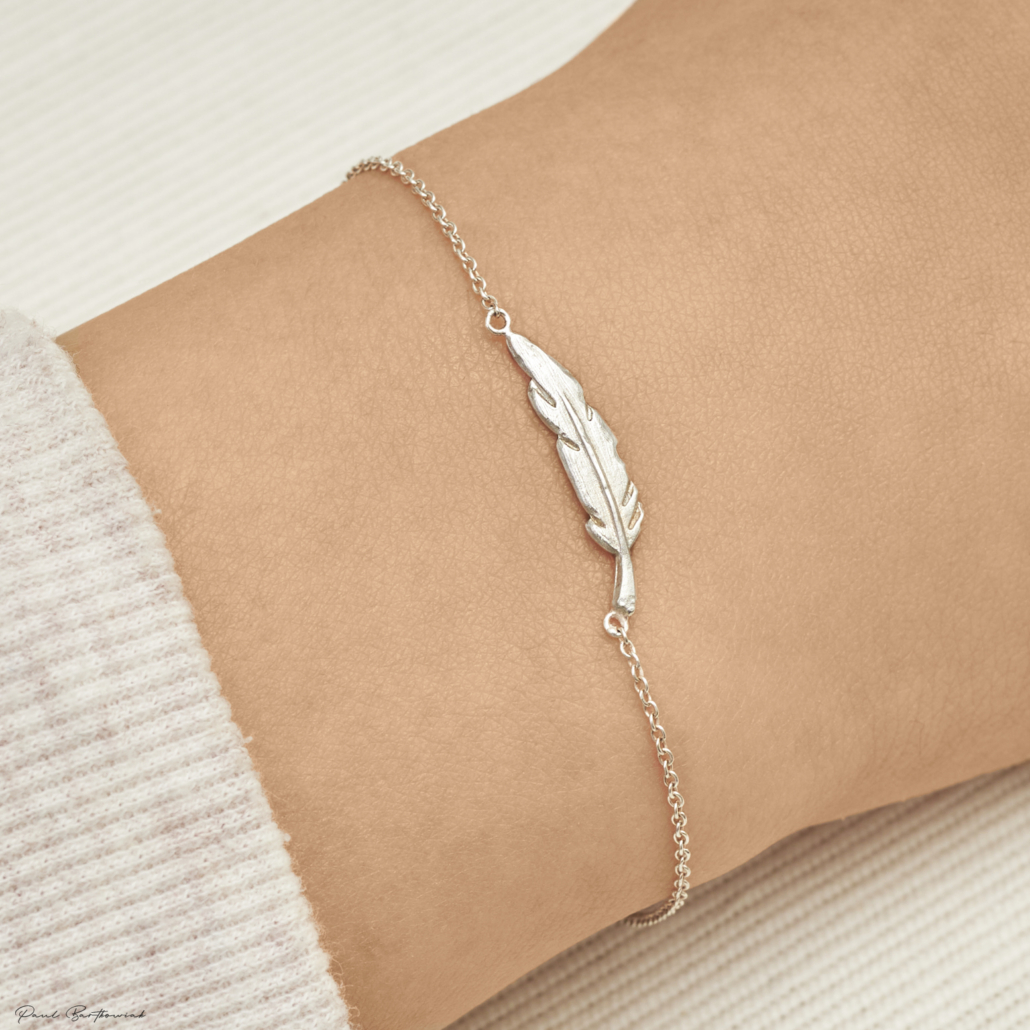
Second on the list of planning for a shoot is sketching out the images you are going to create and for me this is the biggest challenge with every shoot. Visualizing how an image is going to look is definitely a skill that comes with time but for every shoot I try to sketch out a basic idea and move from there. With this shoot I went in with a plan on how every image was going to look and came out the other side with results that were similar but on the whole pretty different to my original ideas. This was mainly because when I sketched out my designs the idea behind it was good but in reality it just didn’t work. For the jewellery piece that looks like a leaf, I thought to shoot it on a rock that had fossilized leaves on it. I thought the nice leaf pattern in the rock would compliment the shiny silver pendant. But in reality the surface of the rock was uneven and the patterns in the rock much didn’t compliment the pendent. From this I took what I learnt and shot the leaf on a simple white crystal with a white cloth background. I found that with the fossil idea I neglected to realise the pendent was extremely small and detailed, so to shoot it on a complex background distracted your eyes from the product. This was lesson number 2 “always focus on the product”
Lesson One
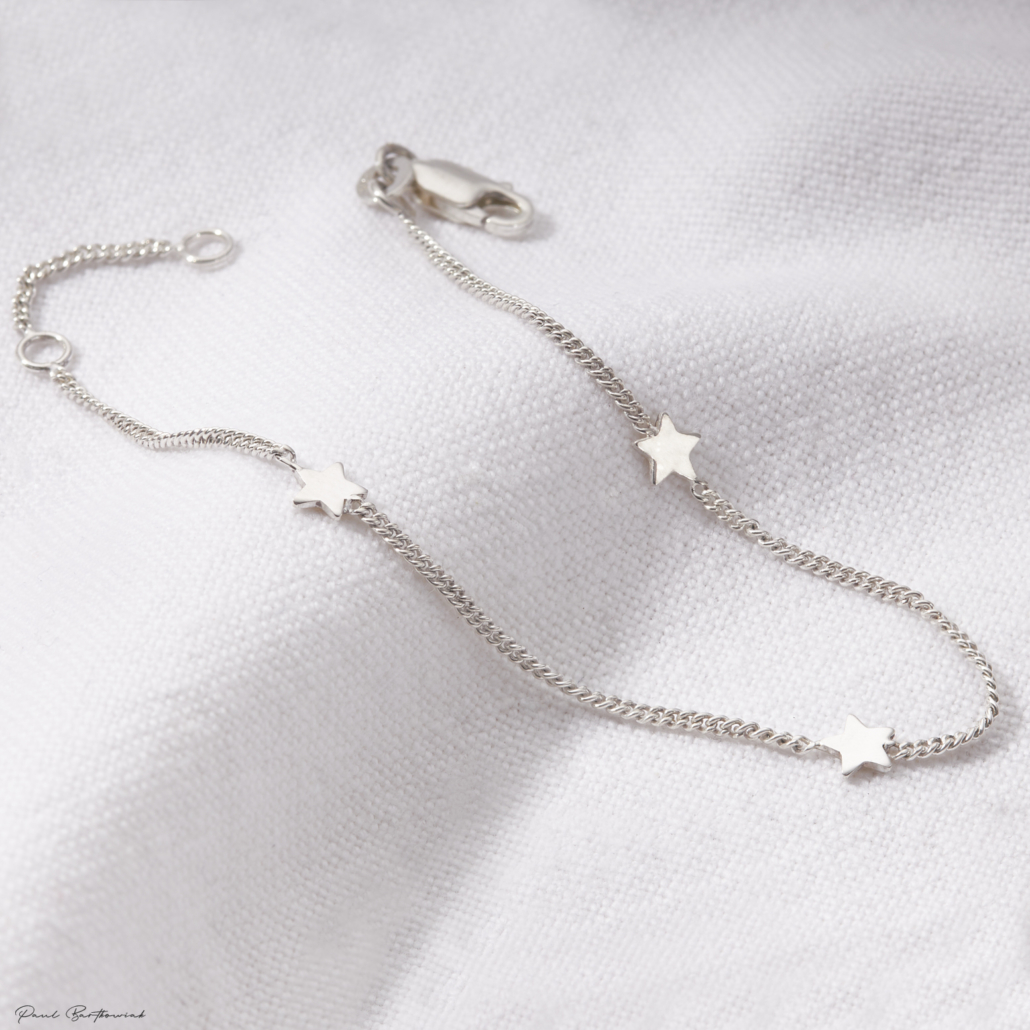
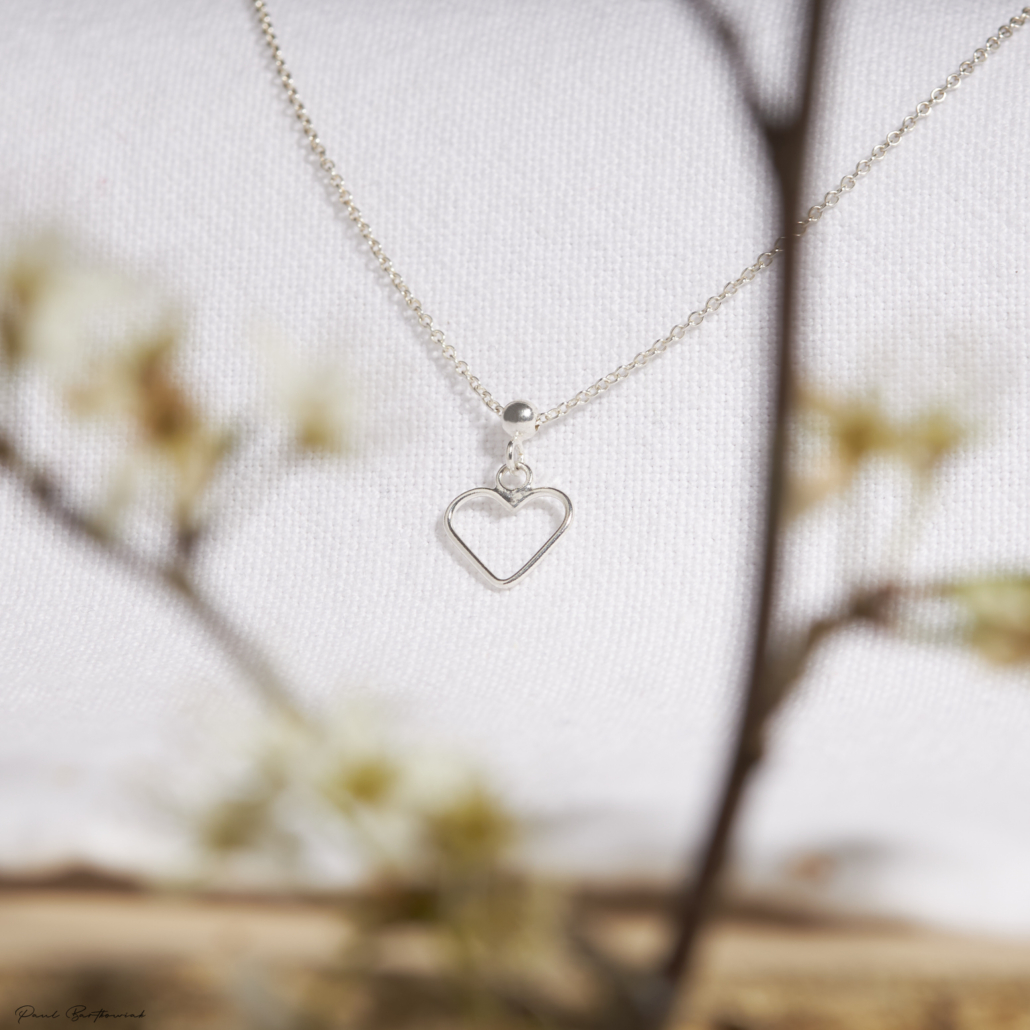
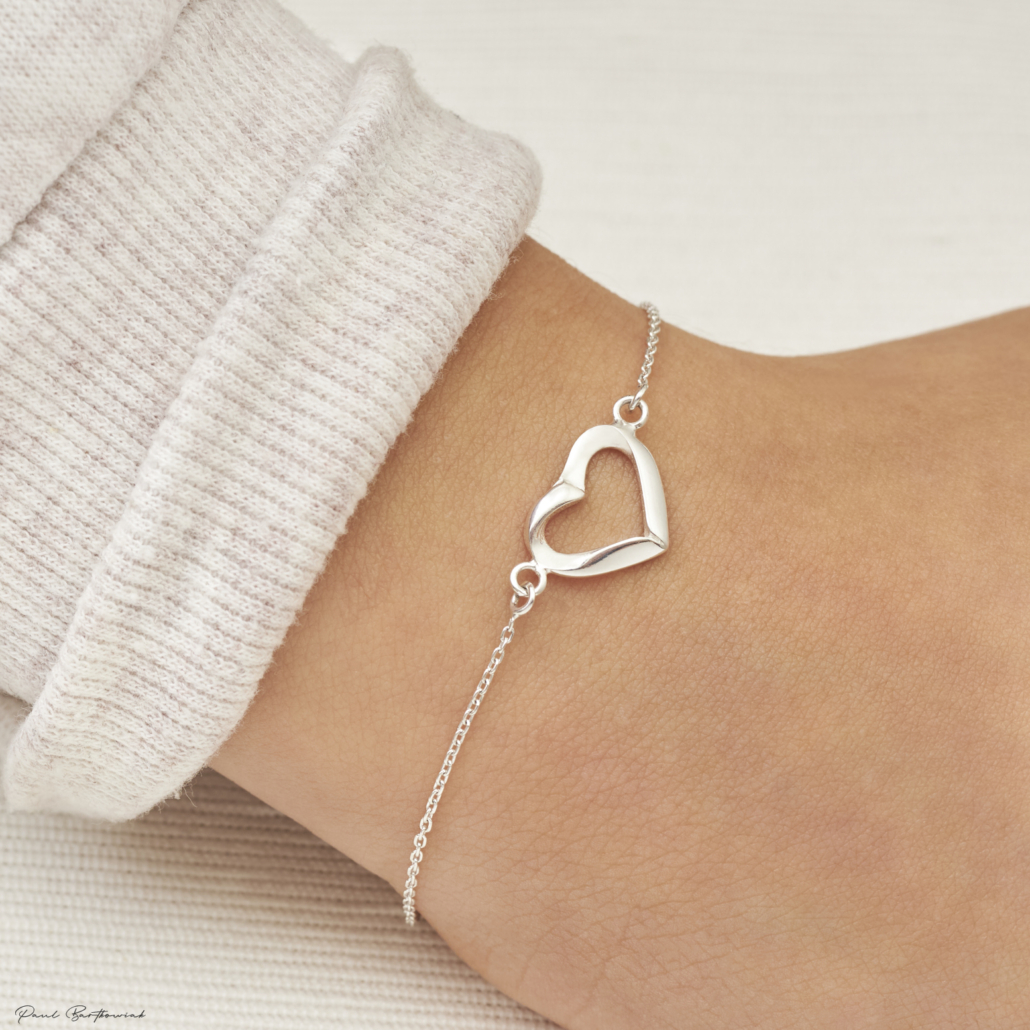
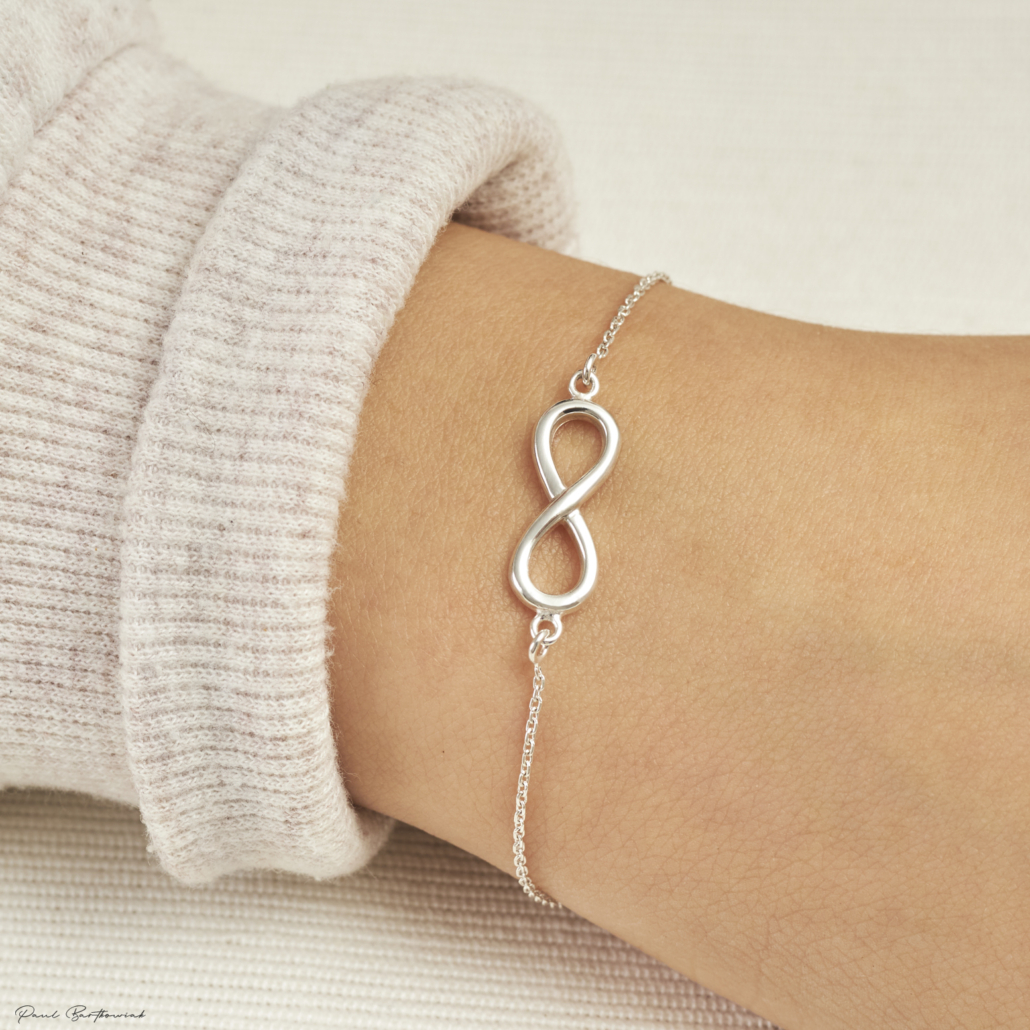
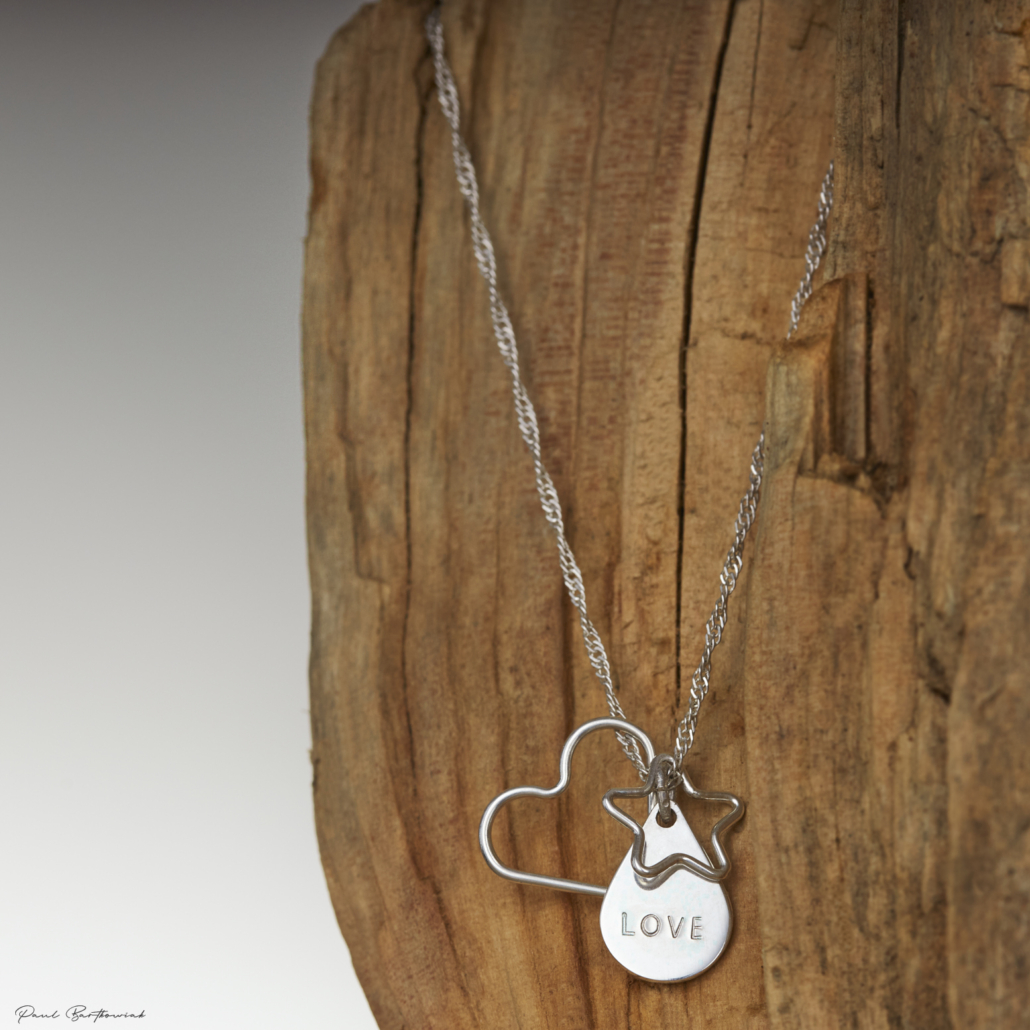
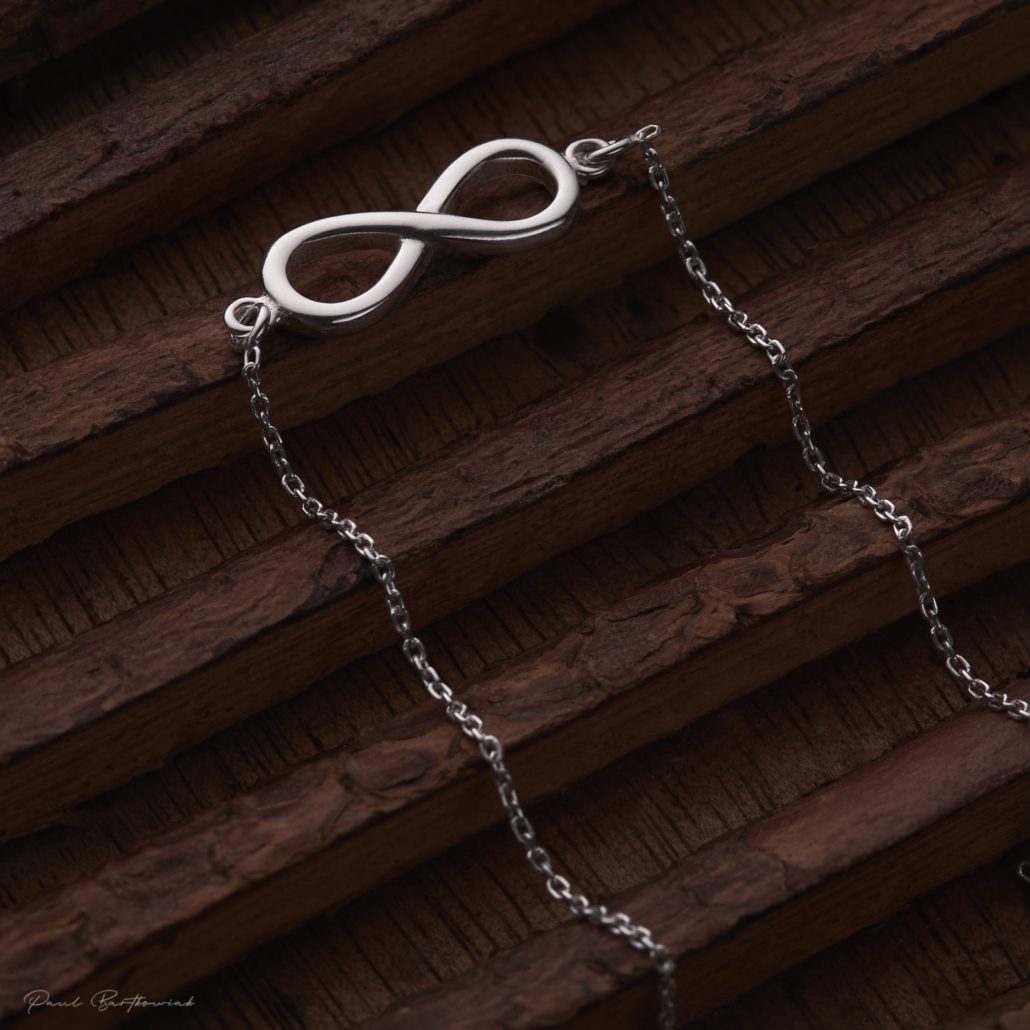
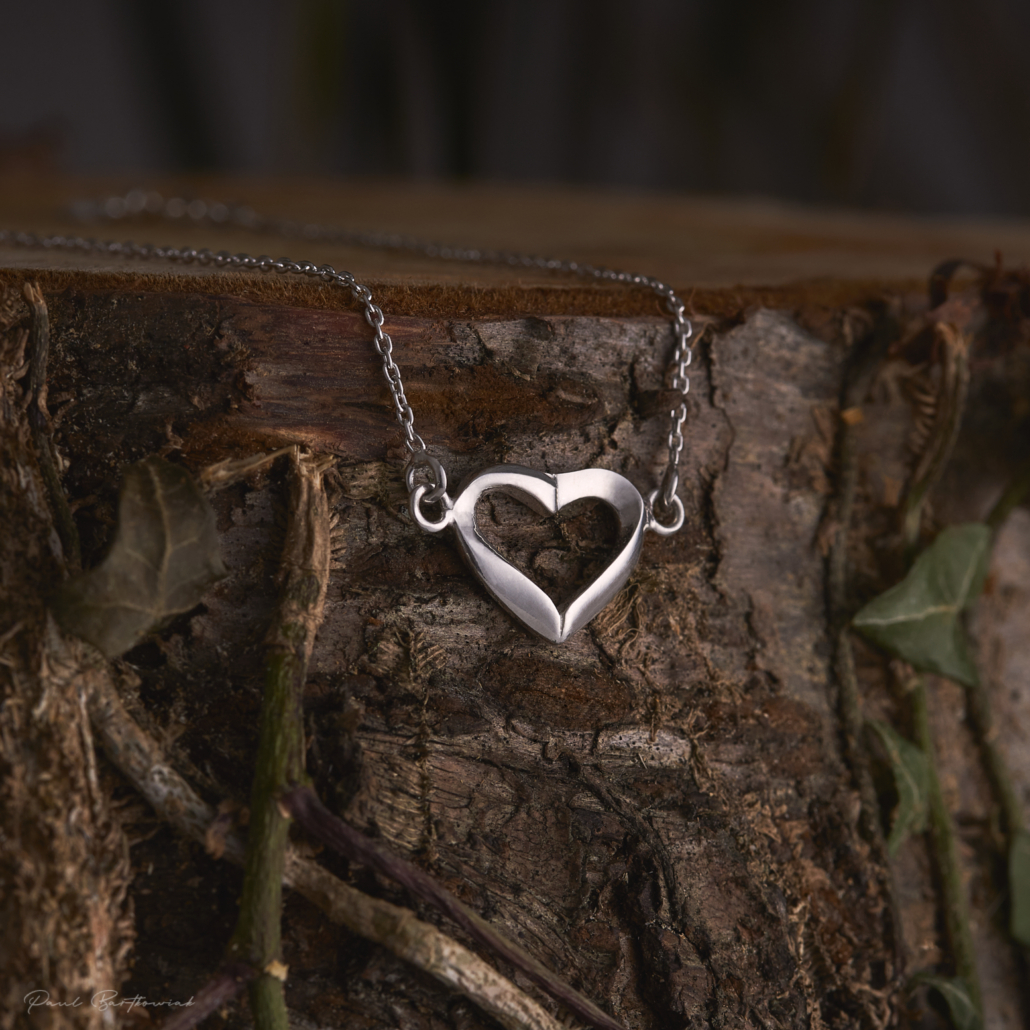
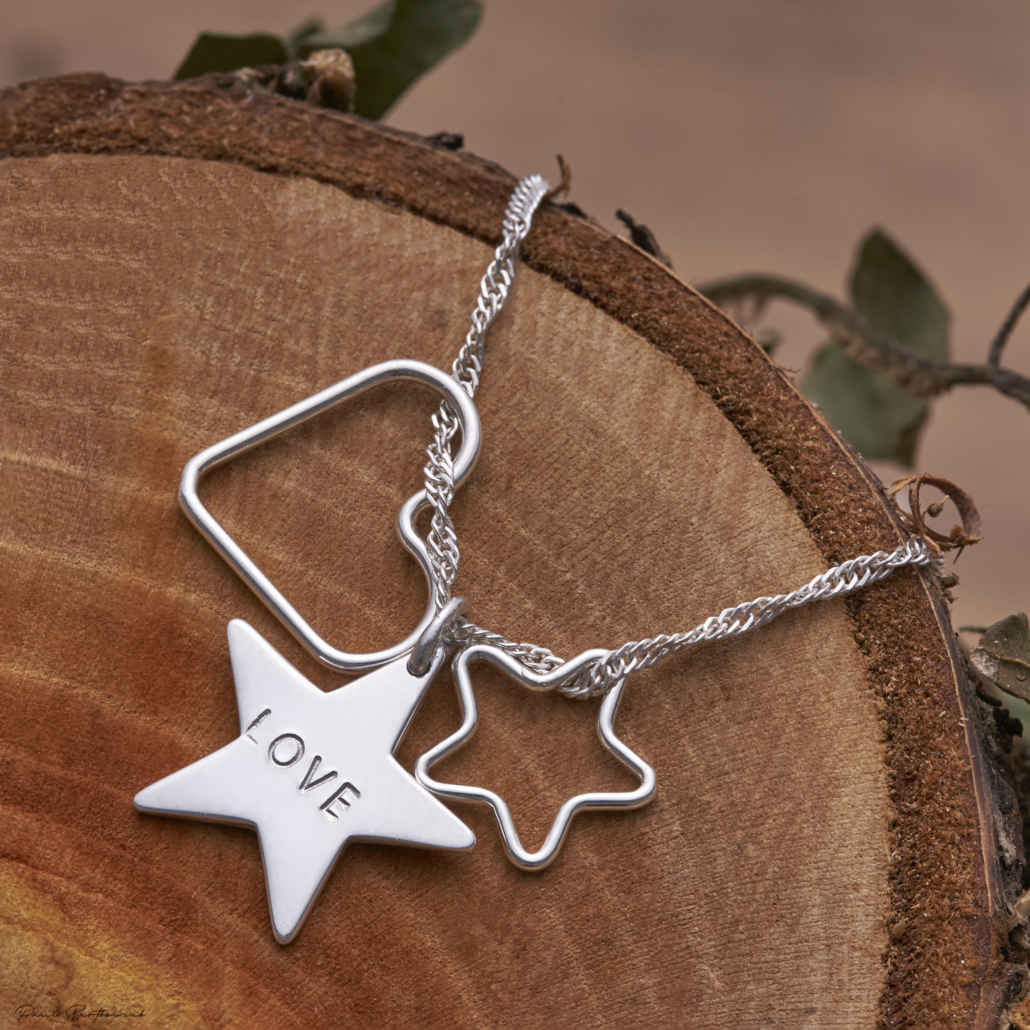
Step one for this shoot as always was to make a plan and mood board for how the shoot was to go. I started this by asking the client what their brand stood for and if they already had vision in mind for the shoot. In this case they were a very new brand and haven’t put much thought into the overall look of the images and direction for the shoot. For this I decided to put together a mood board of different photography styles and looks for the client, to which they picked out the ones that spoke to them the most. Having a mood board is essential for any shoot in my opinion, even if the client has something specific in mind for a shoot, having alternative ideas can help add to the image either by confirming their plan with contrasting styles or it can help if they see bits in other images they like that they might want to add to the image. Doing this at an early stage means your whole focus for the shoot is in the right direction and helps you create images that not only fit the brand but create images that have a meaning/direction to them. This means that when you see all the images side by side you can see the elements that link them together. For this shoot the client took a lot of inspiration from the dark wood images in the mood board, and when I previously spoke to them they asked for an emphasis on nature, wood and crystals. Another element to think about is using your knowledge as a photographer when planning a shoot. For example with this shoot the client picked out images from the mood board that had dark contest wood grains and the jewellery that was in those images were big silver necklaces. The clients jewellery on the other hand was small, delicate and simple in its design, so to shoot it on a dark and high contrast background would take away from the small details on the jewellery. That’s why for this shoot when I involved wood, it was kept simple and I tried to keep the colour of wood light and not have much contrast. A lot of the images where shot on fabric and with crystals which give them a lighter look to the other wood based images. This was mainly done because with these pieces they were small and delicate so to put them on wood would take away from the main focus, which is the jewellery.
Lesson 3
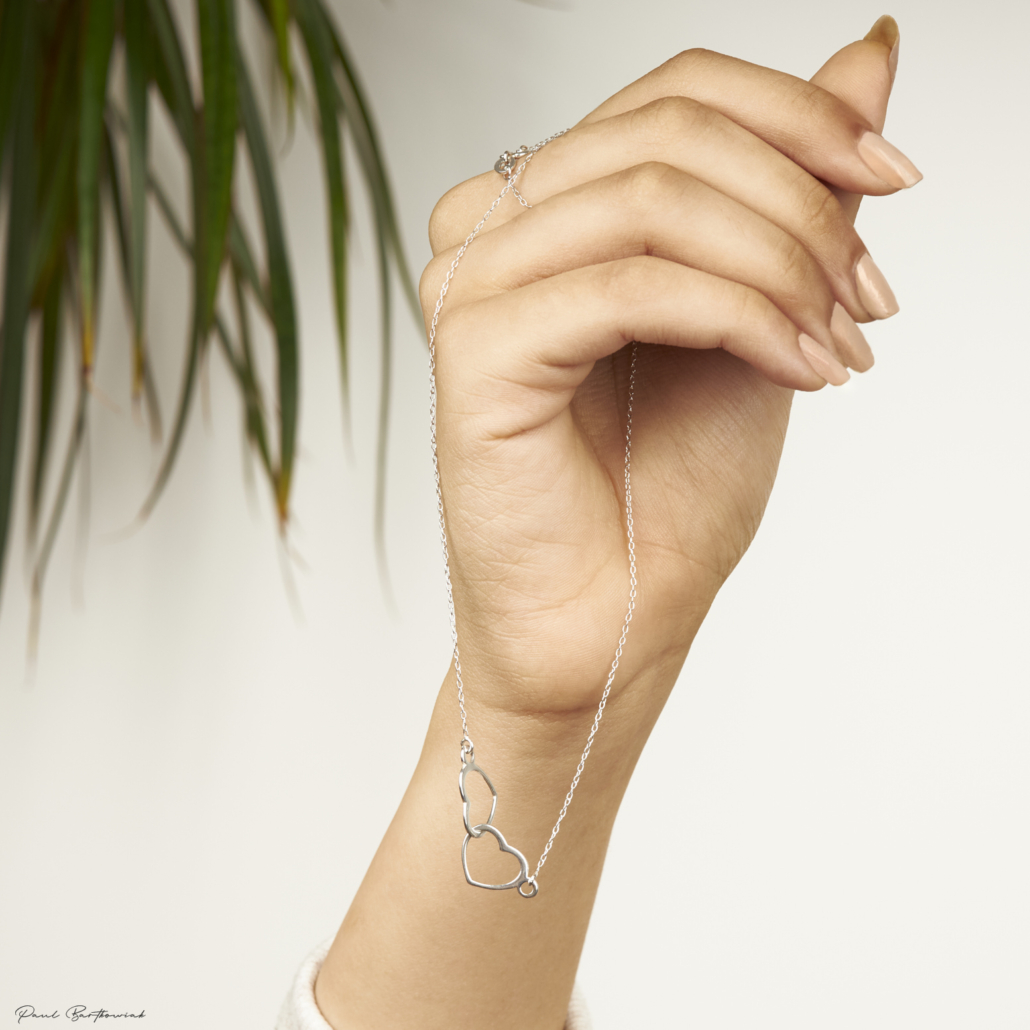
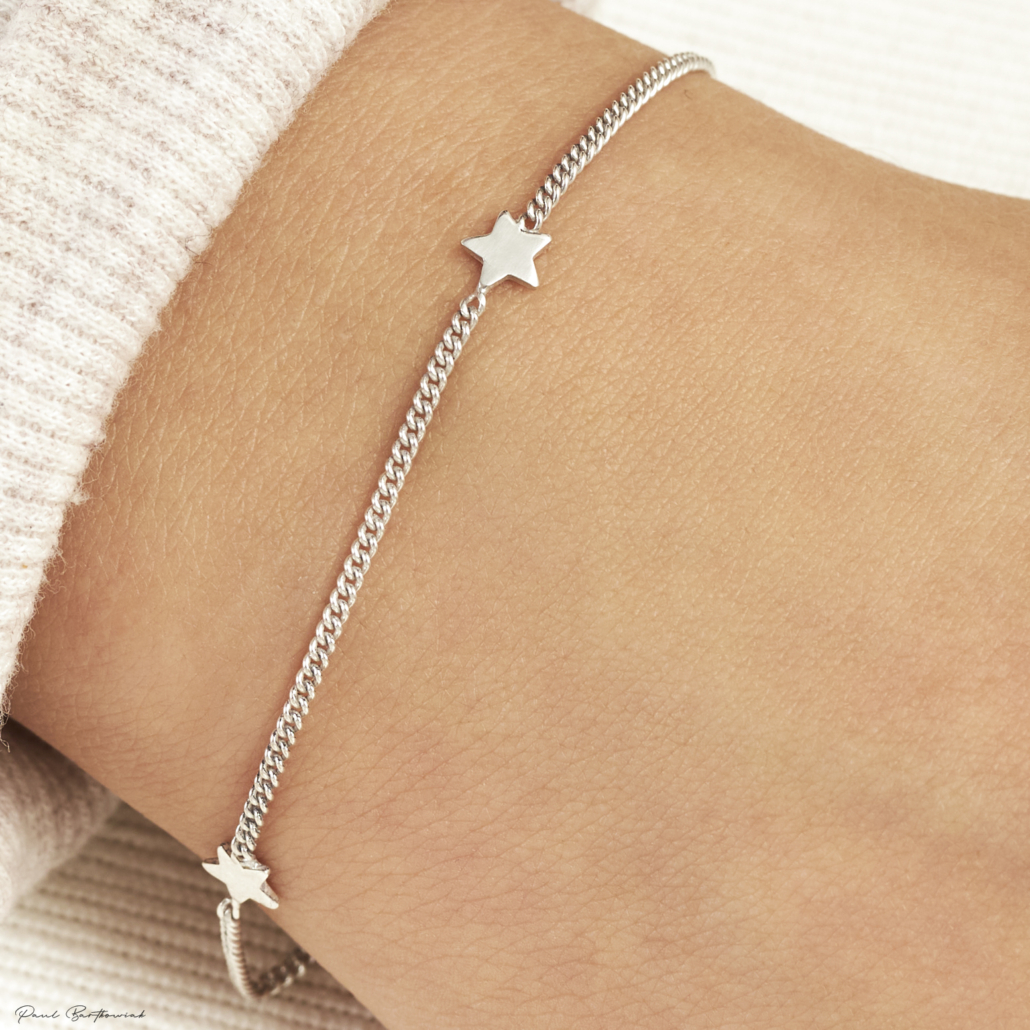
Lastly but not only lesson I learnt from this shoot is when working with models, make sure you are prepared, not only with equipment but with the knowledge on how to work with models. Before this shoot I had limited knowledge of directions to say to a model to make them move their hands in the correct way. Having knowledge on what to say to models would have for one saved time but also would have helped with more natural hand positions and looks. Another point to think about when using models is preparing them for a shoot, for example with this shoot I wanted the arm portion to not have hair on it which I only figured out when shooting. This meant that in the middle of shooting I had to shave the hair off the arm, which did work. But when razoring hair off sometimes it agitates the skin and creates red patches. This means that I had to spend hours in editing, dodging and burning these areas to make them look smooth. If I had put some pre thought into the model shots, I could have been prepared and would have saved time in editing.

